Colour calibration is a key part of your photography workflow, from capture, editing, and finally to printing. Colour calibrating your monitor is particularly important as failing to do so means wasting a lot of time editing a photo in post-production that’s going to look nothing like your final print. This can be incredibly frustrating, but the simple process of colour calibrating your monitor will save you from doing anything counterproductive.
Here are the things you need to know about colour calibrating your monitor.
Why is properly colour calibrating your monitor important?
There are many reasons why you should colour calibrate your monitor as a photographer. Some of the reasons are:
Your prints will be true to life.If the colour of your prints don’t match your monitor, whites won’t be pure, colours will be off, skin tones will be inaccurate etc., meaning you’ll likely be left frustrated with an inaccurate and inadequate print.
Monitors display colours differently, based on lots of factors including their age and resolution.
It will help you save time.If your monitor colours aren’t accurate, the time you spent editing will have been wasted when your print comes out completely different.
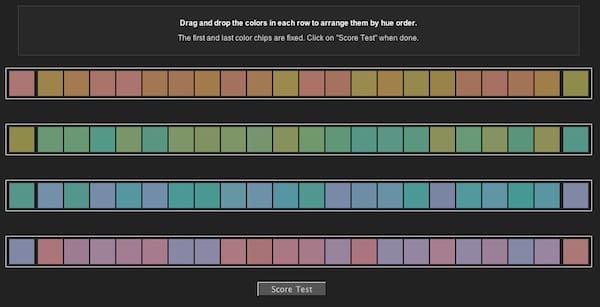
Your eyes aren’t always as trusty as you think.Using colour management tools to help calibrate your monitor means that you’ll get accurate results that you wouldn’t be able to achieve using just your eyes. If you’re tired, or the light is shining in your eyes, what you’re seeing isn’t likely to be accurate. Why not test your eyes’ ability to see colour with the Munsell 100 Hue test? It’ll tell you whether you have a discerning eye when it comes to colour, or (more likely) if your screen needs calibrating!
What should you know before you begin colour calibrating your monitor?
Here are just a few tips we think you should know about before you start the process of colour calibrating your monitor.
- Turning your monitor on half an hour before you begin will allow your monitor to reach its normal temperature and working conditions, meaning you’ll achieve more consistent and accurate results when you’re editing.
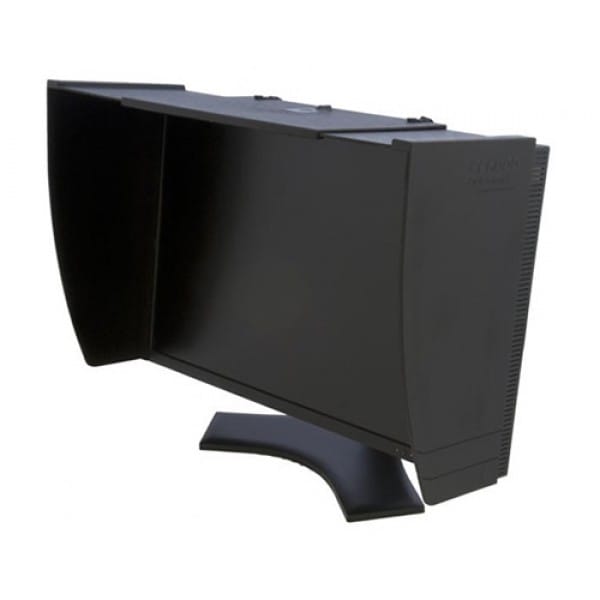
- Make sure you are colour calibrating your monitor in a room with adequate lighting. The room doesn’t need to be pitch black, but make sure you avoid glare from direct light sources. You might want to invest in a monitor hood, like this PChOOD Monitor Hood – Pro, which is a good investment not just for calibration, but also for editing.
- If you’re posting your photos online, be aware that many standard computer monitors are set to be brighter than a correctly calibrated monitor, meaning that if you edit your photos after colour calibrating your monitor, it is likely to look darker on uncalibrated devices. If this is an issue, consider slightly brightening your photos in the editing process.
- Make sure your monitor is running at its native, default resolution, which is the highest resolution it supports.
What tools do we recommend to help you in colour calibrating your monitor?
There are many tools – called colorimeters – for colour calibrating your monitor. These are small, simple devices that hang over your screen and make use or red, blue, and green filters to mimic the way the human eye sees light. Here are five colorimeters for different levels of photographer that we’d recommend.
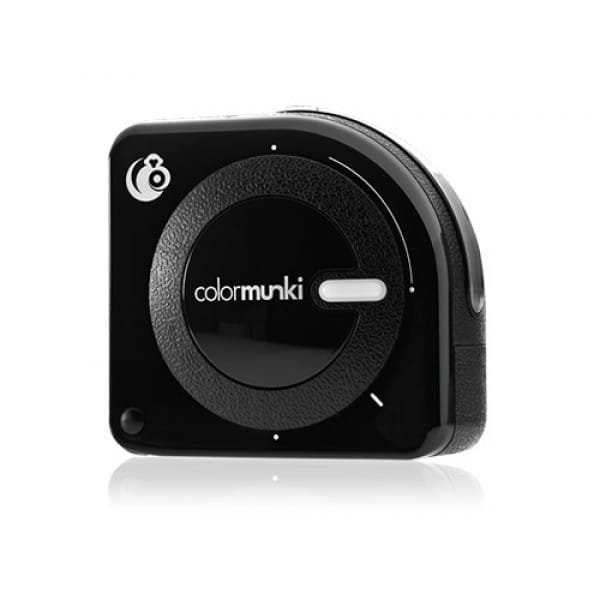
- The X-Rite ColorMunki Photo is a great tool for getting quick results. It’s worth mentioning that the user-driven interface allows users to choose between ‘easy’ or ‘advanced’ modes, making it great for users of all abilities, but especially useful if you’re just starting out colour calibrating your monitor.
- For the more practised photographer, the X-Rite i1 Display Pro might be a more practical solution – its high levels of accuracy make it very popular among professional photographers, and it can be used on a wide variety of displays.
- Hobbyists might want to consider using the DataColor Spyder5express as its 4-step process offers a simple solution to the challenge of colour calibrating your monitor, whether it’s a laptop or a desktop.
- The DataColor Spyder5pro has more advanced features than the Spyder5express, as well as 16 calibration settings, so it’s perfect for serious photographers looking for a full set of features to get accurate colour.
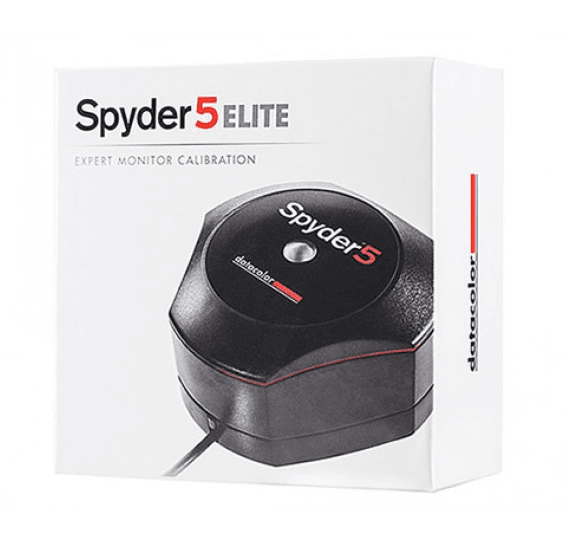
- For those looking for total control over their colour workflow, the DataColor Spyder5elite is a great solution. The Spyder5elite has unlimited settings for gamma, white point, and advanced grey balancing – perfect for experts and perfectionists.
Beware – colour calibrating your monitor without a colorimeter is possible, just not recommended for photographers! Here is a detailed guide on how to do it from your operating system, but remember, you can’t always trust your eyes. It’s perhaps best to save this for watching movies rather than editing photos, especially if you’re looking to make or sell prints.
Colour calibrating your monitor is sometimes seen as an unnecessary middle step, but it’s essential if you’re serious about photography. If you need to calibrate your monitor, check out our range of colour management tools or get in touch for tips and advice.